Showing posts with label garage. Show all posts

Tuesday, May 14, 2013

House Updates

We have received the two items we bought from Costco and have set them up. We are currently shopping around for a roofer to help decide on the third item. Mom also came over a couple weekends ago and helped us put up pictures. Sounds easy but I have been trying to get some of them up since we moved in. More of Mom's visit will be in another post....

For this post I want to show you the pictures of what we got accomplished. While organizing the pictures I discovered that for some rooms I haven't shown the updates we have slowly been making so I will start taking pictures of the rooms as they are now to post later.

First up the garage. I don't really have any before pictures but I think you can imagine the before. We got the shelving unit from Costco and it is great! Fits perfectly, easy to assemble and plenty of room to store in. Everything that we have had to deal with on the floor, some stuff that we were storing in the laundry room were all able to be put on the shelving unit and there is plenty of room for more!


The wheelbarrow is my mom's and will be gone soon as we no longer need to borrow it so that will be more space for us as well. We have a few more projects for the garage but this shelving unit helps out A LOT! We want to put a storage unit over the garage door opener so we can lie the hurricane barriers up out of the way and other flat items and we want to put peg board on all/some of the walls so we can hang things like brooms, shovels etc. It is so much easier for me to pull in and out now and everything just looks so much neater!

The next thing we got from Costco was the bakers rack. It has worked just as well as we had hoped. I am just one more step closer to being able to use my Kitchen Aid mixer I got as a wedding gift!

One of the few true before pictures I have....
After :)
We were able to get so much stuff out of our pantry, off our counter tops and all those frying pans out of a cabinet. We have not reorganized everything yet because we just need the kit for the Kitchen Aid mixer and more time to figure out where the best spot for things is but we could not be happier with the bakers rack!

We hung a lot of pictures in the nursery. I would do a full nursery update but it is a mess! We had gotten so many diaper cakes that we had trouble storing them all and they all fell apart so we have diapers everywhere! When Mom comes up to help with Thor one of the things I hope to do is get the nursery picture worthy at least once :) But until then...here are the pictures we hung.

Before
After: Picture and the top of baby's first bookcase
Before
After: the shelf my Mom had when she was a little girl and Peter Rabbit and Howdy Doody collectibles


The above two photo's are probably my favorite part of the room. We did center them to the room not the crib because I do not plan on ever moving them where as the crib will leave the room at some point. The picture on the left (and the close up which is on the bottom) is of Benjamin giving Thor kisses while Thor is still "cooking". I was just trying to get photo's of Benjamin and my big belly. Benjamin is a cuddle bug so it wasn't hard to do. Benjamin must have felt Thor kick or something because he moved his head to look at Thor...I was lucky enough to catch it on camera. I was so pleased I got it! The plaque in the middle has a bible verse on it that we got from Ms. Micki and I thought it would be perfect to use as a separation of the two big photos. The second picture frame, which is empty right now, will have the picture of Thor lying on Benjamin when we go down to visit during maternity leave. We hung the frame now so we could ensure it was placed properly and so it would be easy for me to put up when we get the picture printed. I am so excited these pictures are working out as I hoped. And when "Thor" gets big enough and decides he wants other photo's in those frames we can just switch them out. I think the Hulk and Iron Man would look just as good in those frames :)


These two pictures are hung in the living room. These are two of my favorite pictures from the wedding. The left of us being our goofy selves and the right one being just a great formal, posed photo. We plan on putting the plate Caroline (Mom #2) painted as part of the Bridal Party gifts in the middle and then surrounding that area with photo's of the children as they come.


The above two photo's are of one of my favorite pictures from the engagement shoot. I did not use it as my "Save the Date" photo but it really shows our personalities. Brian is poking me as he always does and I am just smiling at him and trying to hide my laughter that he is still being his mischievous self while we are trying to get our photo's taken. I put this photo in the hallway heading into the Master Bedroom. If you were to look at the two photo's in the living room and look right you would be looking right smack at this photo.


The above photo is placed in the foyer. So if anyone walks in the front door this picture is one of the very first things to be seen. Excuse the boxes in the top photo, we haven't been able to get rid of all the trash from the baby shower/Costco purchases. It is one of the few good, rainy shots we have. It was torrential downpour when we got married and while our photographer was fantastic...we didn't listen to him as much as we should have and I miss not having more pictures of us out in the rain. I was too focused on making sure we got everything in and done to feel relaxed enough to add more out...but I am very glad we did get this shot.


This is one of Gamma Kay's prints. I love it and I put it in the hall way that takes you to the nursery (on the left) and the guest room (on the right). I think it ties the rooms and hall way together perfectly.


Before

After

This is one of Gamma Kay's paintings. It was originally in the kitchen where the baker's rack is but we moved it to the guest room. The bakers rack is just too high but that is okay because I think it looks great where it is :)

I am so glad we got the photo's up. The house is starting to feel more like a home and more like a family is actually living here. Before it looked like we had barely moved in and now, after over a year and a half, we have made it look like people do live here!


Sunday, April 28, 2013

House Project Update

I am having trouble uploading my eight month pictures so I decided to post what we found that will solve some big issues we have been having with the house. We were at a standstill with these projects until we went to Costco yesterday. As we left with our usual purchases a nice woman handed us their May Specials booklet. Usually there isn't anything we are interested in but Brian found three things.

1) Kitchen:

As with most people we have very little counter space and storage. We also have this wonderful Kitchen Aid mixer that we have not been able to use because we have no where to keep it once it is out of the box. If we could empty one of the cabinets we can keep the mixer in there on a rolling drawer which will allow for easy access and easy storage. The rolling draw will hold the mixer and when we want to use it we will pull it out and the mixer will end up at the same level as the counter. Easy access, easy storage. The issue? Clearing out the cabinet.  We have played with several options to remedy this problem. The first idea was pot racks so we can take the frying pans out of one of the cabinets and then move everything over. Given our budget and available space for a pot rack, this unfortunately worked. We thought of finding a table that could be on wheels. The top would be butchers block and the bottom of the table would have shelves so it would as a portable island as needed. That idea is not fitting our budget either.

The first object he found was this:


It is normally around $85 which was in our original budget but was on sale for around $65. It is the perfect height. Will hold all of our frying pans, lids and will help clear things off our counter and will create more space in the pantry. It will look great in the space and not take up too much room. The only real downside is that it will go where the trash can goes so I have to move a picture and find a new home for the trash can. We cannot wait for this to arrive!

2) The second issue we have been having is fitting everything we need in the garage. We have a two car garage and it fits two cars and not much more. Due to Brian's awesome packing abilities we have been able to fit several other things but it is a mess and we are definitely not using the space wisely. Thanks to all of our past projects we have paint cans on the floor, brooms and shop vacs, dirt, etc that could be stored easier. We have had the idea to get a shelving rack for awhile but they are just so expensive. A shelving rack will save room, provide more storage and provide easier access to the items we need to keep in the garage!. I may be able to take a few things out of the laundry room and store them in the garage as well! There are other things we want to do in the garage but shelving rack will get us a lot closer.

and guess what Costco had!

This was normally $220 which is still a good price for the size and weight capacity that we found but we got it for $180. It has 5 shelves that can each hold 600lbs (I don't know if we have enough to get 600 lbs total but we wont have to worry about things being too heavy) and is 60" W, 24" D and 77" H with the casters. It fits perfectly where we want to put it and I will have an easier time getting in and out of the garage.


We have already purchased the above two items. The sale paper said it started May 1st but when I went online to confirm measurements and things we noticed that the sale actually started early. Once we confirmed that those two items were what we hoped they would be we went ahead and ordered them. We didn't want Costco to sell out of them.


3) The third item we have been discussing getting is an attic fan. I know when we were up north our attic fan helped keep the house cool a lot and that was up north where we didn't have the heat we do down here. Our attic gets really hot and while the door to the attic has weather sealing/proofing I really think the upstairs A/C would have an easier time keeping the upstairs cool if we had the attic fan. A/C having an easy time hopefully means less in our electric bill. Brian is on board. We haven't done it yet because Brian wanted to do some research on how much electricity the attic fan would use to see if it would make a difference. If it costs $5 to run the attic fan in electricity and it is only going to save us $5...maybe it wouldn't be worth it. Plus how much the fan itself costs and how much it would be to install it. We liked the idea but we had a lot of research to do before we jumped in.


Well Brian found a solar paneled Attic Fan in the Costco flyer! It does have some electrical parts but it will only cost $2 a year for that aspect. There is a 30% tax credit for it as well!. Because it is solar paneled it is on the roof and we do not need to get anything approved by the HOA or anything like that and the description says that people can install it themselves! We obviously won't but that just proves how easy it is to set up, no electricians needed! It also has a remote which will allow it to still run on cloudy days or at night which is great. It is high wind resistant, it will even help in the cold, wet winter. (yes we are not supposed to get snow but it does rain and we have had snow and it will be fine with snow).

We haven't purchased it yet because we do have to have to find out how much it will cost to install as we aren't doing it ourselves. We have a call in to the manufacturer to see what their certified people will charge and we have asked another friend who may be able to do it to see what he would charge. If the installation quote is what we are expecting then we will go ahead and purchase it.! It is $350 before the sale and $300 after the sale. Well within what Brian and I were thinking. Brian was budgeting $500 for the fan and installation so as long as installation is $200 or less, which it should be, we will be golden.
Another great thing about the sale? Shipping is free! I will post before and after pictures of all the projects once we get there.

Thursday, May 3, 2012

Who would have thought....

That the first project we would finish would be in the garage. And as promised, when projects get finished you get pictures!

This project started out well...got dramatic and finished alright like always.

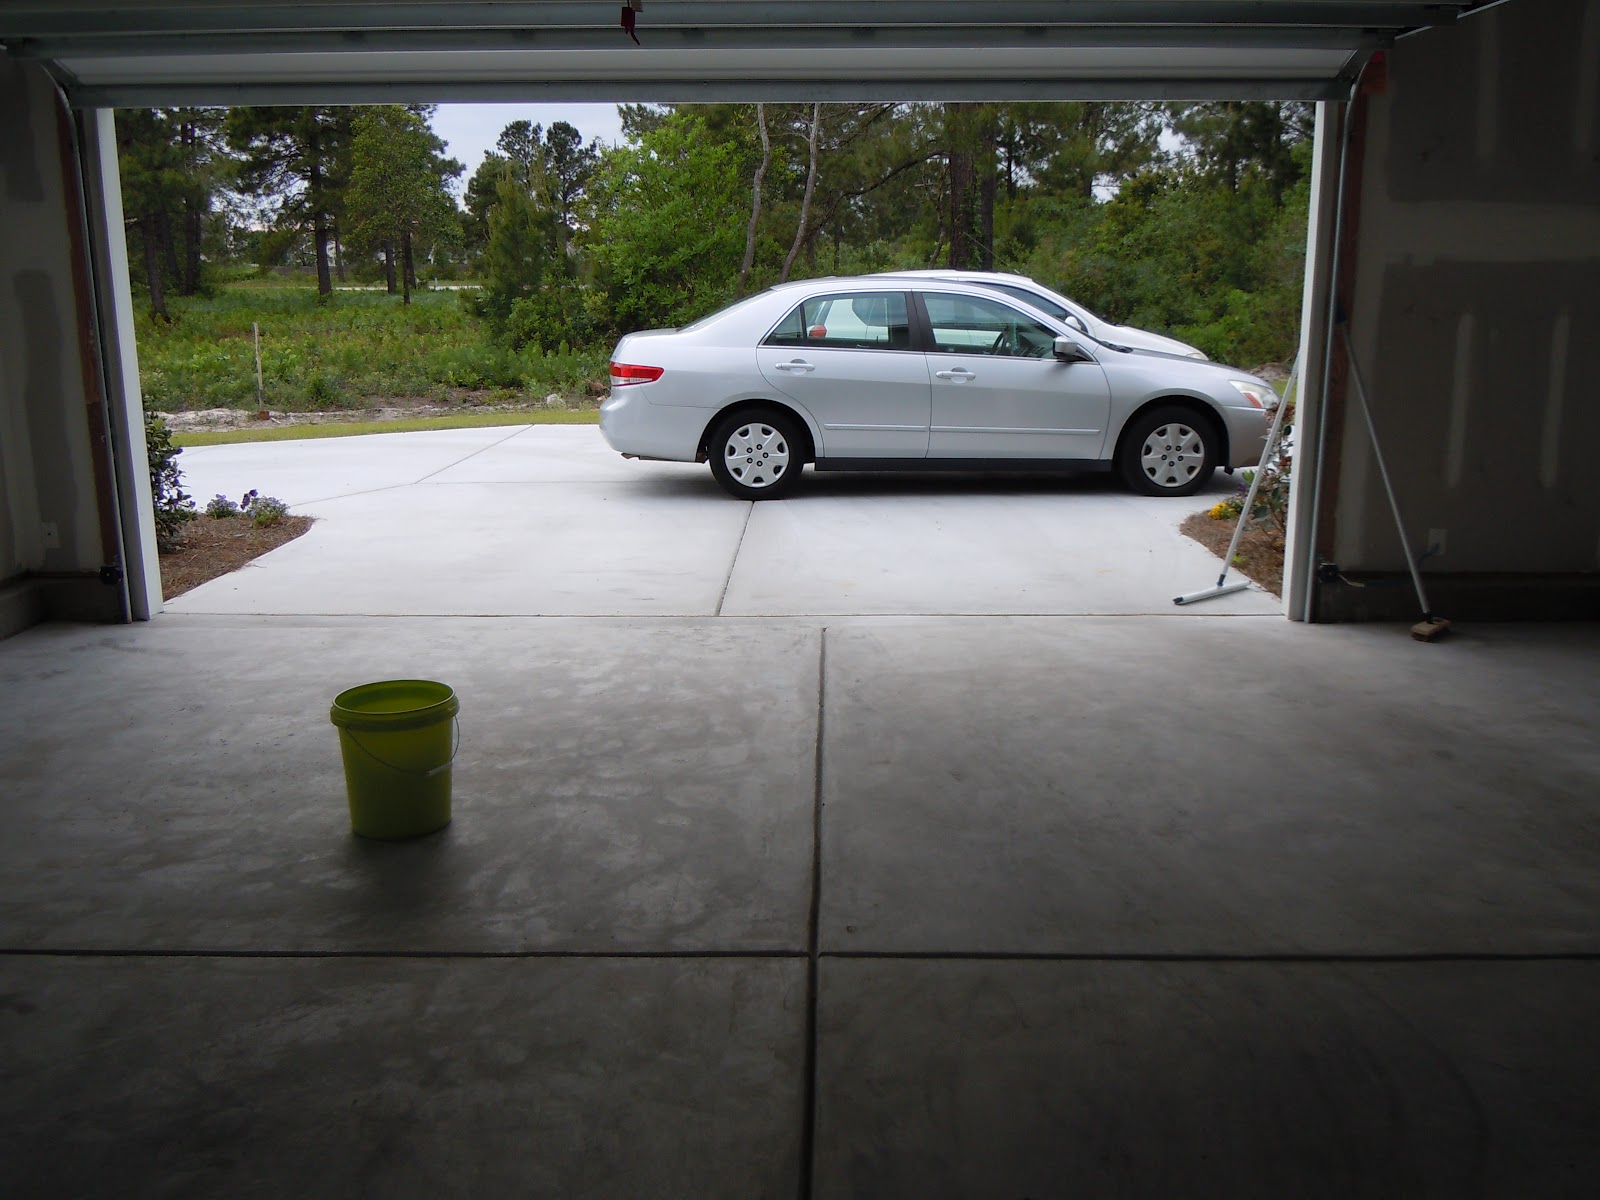
We first had to clear the garage and clean it out. You would be very surprised how dirty a brand new garage is. The following pictures are after we swept.


Then we realized we needed to sweep some more!


Finally it was time to etch the floor. Etching is done to remove oil stands and dirt that is on garage floors for years. Our floor wasn't dirty enough to need it for that reason but etching would make the paint cover more ground and last longer.


We then had to wait for that to dry...


After it dried we painted the curb and floor with the epoxy paint and specs. We had *just* enough and thought we had done a pretty good job. I didnt know it was supposed to rain but the boys did and they said the rain wouldnt start until 2am so plenty of time for the paint to dry so the rain wouldnt be an issue since we finished painting at 7:30. We had to leave the windows open and garage door 6/8ths to help floor dry. Then at 8:30 we had sideways downpour of rain. It looked really bad and we were thinking we were going to have to redo the floor completely. Looking at it the next morning it may not last the 10 years it is supposed to but it will be awhile. We also decided to put clear coat on it...to smooth it out and hoping that will make the paint last longer


And voila! Garage floor is done!